To patch TV mount holes, first, remove the TV mount and any remaining hardware from the wall. Then, fill the holes with spackle or drywall compound, smooth it out with a putty knife, let it dry, and sand the area.
Are you planning to redecorate your living room and want to remove the TV mount from the wall? Or maybe you’re moving out and need to fix the holes left behind? Whatever the reason, patching TV mount holes is a simple task that can restore the wall to its original condition.
We will provide you with a step-by-step guide on how to effectively patch TV mount holes, ensuring a seamless finish. By following these instructions, you can say goodbye to those unsightly holes and enjoy a flawlessly repaired wall.

Credit: www.youtube.com
Choosing The Right Patching Compound
When it comes to patching TV mount holes, choosing the right patching compound is crucial. The right compound ensures a seamless and durable repair that will not only cover the holes but also blend in seamlessly with the surrounding area. In this article, we will discuss two commonly used patching compounds for TV mount holes – spackling compound and drywall patch.
Spackling Compound
Spackling compound is a popular choice for patching small holes in the wall left by TV mounts. It is a lightweight and easy-to-use compound that can be applied with a putty knife or a spackle knife. Spackling compound is generally made from gypsum powder mixed with binders and water, creating a smooth and pliable texture that is perfect for filling in small holes and cracks.
Here are a few key points about spackling compound:
- It is great for filling nail holes, small cracks, and other minor imperfections on the wall.
- Spackling compound dries quickly, allowing for multiple coats to be applied within a short period of time.
- The compound can be sanded easily to achieve a smooth and seamless finish.
Drywall Patch
Drywall patch, also known as a patch kit or repair patch, is another excellent option for patching TV mount holes. It is specifically designed for larger holes or damaged areas of the wall. This compound comes in a variety of forms, including self-adhesive patches, patching compound, and joint compound.
Here are a few key points about drywall patch:
- For larger holes or damaged areas, a self-adhesive patch can be used to reinforce the area before applying the patching or joint compound.
- Patching compound is ideal for filling in the hole or damaged area, while joint compound is used for feathering and smoothing the edges of the patch.
- The patch should be cut to fit the size of the hole, ensuring that it extends slightly beyond the edges for better adhesion.
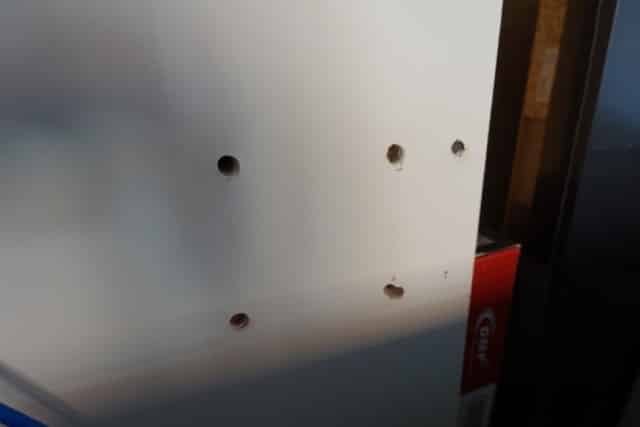
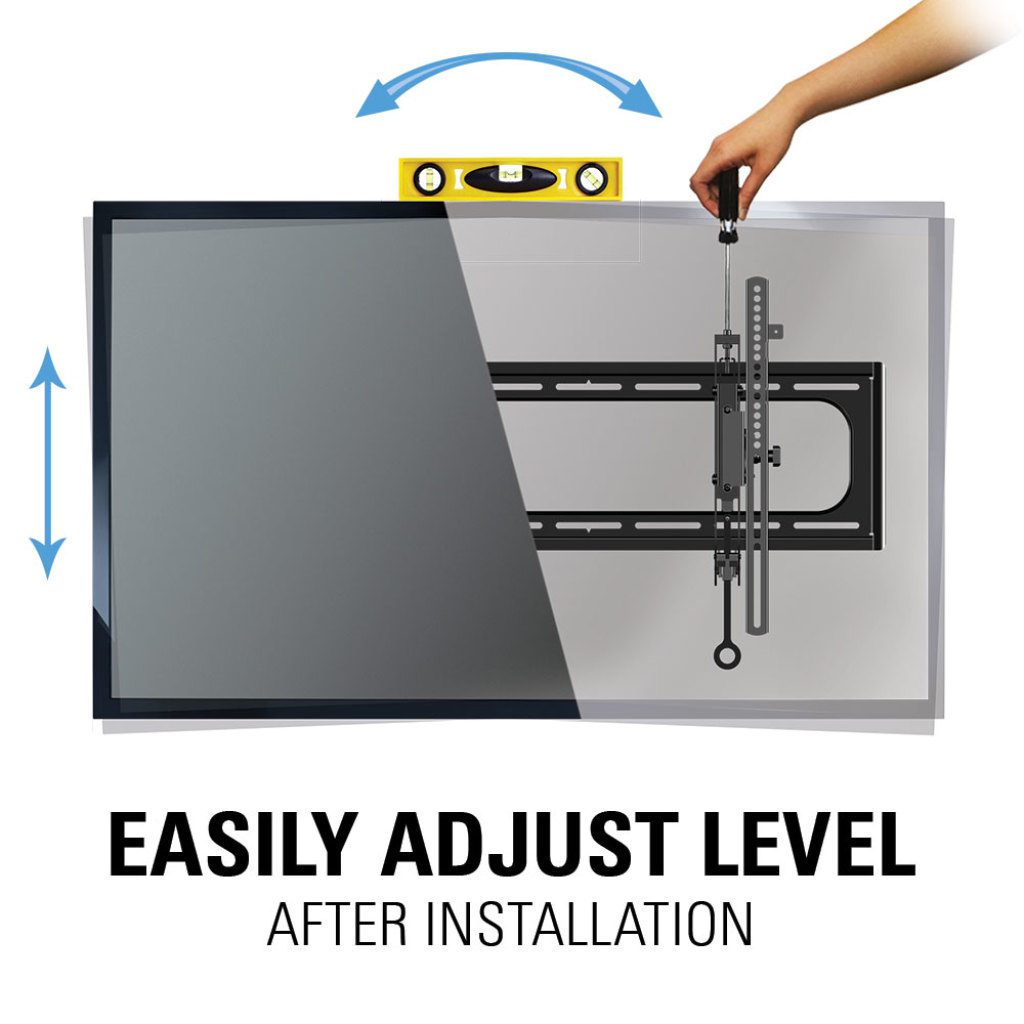
Preparing The Tv Mount Holes
Before installing a TV mount, it’s important to prepare the mount holes properly. This ensures a secure and stable installation, preventing any accidents or damage to your precious TV. In this guide, we will walk you through the steps to prepare the TV mount holes, so you can enjoy your favorite shows without any worries.
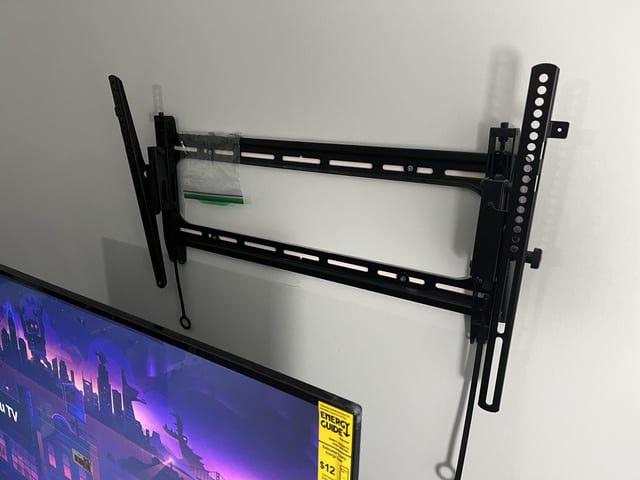
Remove The Tv Mount
The first step in preparing the TV mount holes is to remove the existing mount. Carefully unscrew and detach the mount from the wall, ensuring you have the necessary tools for the task. Keep in mind that different mounts may have varying removal methods, so refer to the manufacturer’s instructions if needed.
Clean The Holes
Once the TV mount is removed, it’s time to clean the holes left behind on the wall. This step is crucial as it ensures a smooth and secure attachment for the new mount. Follow these simple steps to clean the holes effectively:
- Inspect the holes: Start by examining the holes to check for any debris, dust, or damage. If you notice any cracks or loose parts, consult a professional before proceeding.
- Remove debris: Use a brush or a vacuum cleaner to remove any loose dirt, dust, or debris from the holes. This will allow for a snug fit when attaching the new mount.
- Fill any cracks: If you come across any cracks, fill them with an appropriate wall filler or adhesive. Smooth out the filler to create a level surface for the new mount.
- Wipe the holes: Take a clean cloth or sponge and dampen it with water. Gently wipe the interior of the holes to remove any remaining dirt or residue. Ensure the holes are completely dry before moving on.
- Inspect again: Take a final look at the cleaned holes to ensure they are free from any obstructions and ready for the new mount. This thorough preparation will ensure a sturdy installation.
By properly preparing the TV mount holes, you can guarantee a secure and stable attachment for your television. Remember to consult the manufacturer’s instructions for specific guidance on removing and cleaning your particular mount. With these steps completed, you’re ready to move on to the next stage of installing your TV mount with confidence.
Applying The Patching Compound
To patch TV mount holes, apply a patching compound using a putty knife. Smooth it out and let it dry before sanding the surface for a flawless finish.
Now that you have prepared the TV mount holes and applied the primer, it’s time to move on to the next step: applying the patching compound. This compound will fill in the holes and create a smooth surface for painting or re-mounting your TV. There are two common options for patching compound: spackling compound and drywall patch. Let’s take a closer look at each one.Apply Spackling Compound
Spackling compound is a popular choice for small and shallow TV mount holes. It’s easy to use and provides a quick fix for minor damages. To apply spackling compound, follow these simple steps:- Clean the area around the hole using a dry cloth to remove any dust or debris.
- Use a putty knife or a flexible scraper to apply the spackling compound to the hole.
- Spread the compound smoothly and evenly over the hole, filling it completely.
- Remove any excess compound from the surface by scraping it with the putty knife.
- Let the spackling compound dry according to the manufacturer’s instructions.
- Once dry, use a fine-grit sandpaper to lightly sand the patched area until it is smooth and level with the surrounding wall.
Use Drywall Patch
For larger or deeper TV mount holes, a drywall patch can provide a more reliable and durable solution. Here’s how you can use a drywall patch to fix your holes:- Clean the area around the hole with a dry cloth to remove any loose particles.
- Measure the size of the hole and cut a piece of drywall patch slightly larger than the hole.
- Place the patch over the hole, ensuring it covers the entire damaged area.
- Apply a layer of joint compound or spackling compound over the patch, extending it beyond the edges of the patch.
- Use a putty knife to smooth out the compound and create a seamless blend with the surrounding wall.
- Allow the compound to dry completely before sanding it down with a fine-grit sandpaper.
Credit: www.reddit.com
Sanding And Smoothing The Patched Holes
To patch TV mount holes, start by sanding and smoothing the patched areas using fine-grit sandpaper to create a seamless finish. This ensures that the wall looks flawless and ready for further painting or decorating.
Sanding The Patched Areas
Sanding the patched areas is a crucial step in achieving a seamless and professional-looking finish. By sanding the patched holes, you can ensure that the surface is smooth and ready for the next step of the process. Here’s how you can sand the patched areas effectively:
- Start by using a fine-grit sandpaper, around 120 to 150 grit, to gently sand the patched holes. This will help remove any excess patching compound or rough edges that may have formed during the patching process.
- Ensure to sand the surrounding area as well, blending it with the patched holes to create a seamless transition. This will help the patched areas blend in with the rest of the wall or surface, making the repairs virtually invisible.
- Be sure to sand in smooth, circular motions, applying light pressure. Avoid pressing too hard as it may damage the patched areas or create uneven surfaces.
- Once the roughness has been smoothed out, you can switch to a finer-grit sandpaper, such as 220 to 320 grit, to further refine the surface. This will help achieve a polished and even finish, preparing it for the next step of the process.
Smoothing The Patch
After sanding the patched holes, the next step is to smooth the patch for a flawless result. Smoothing the patch involves using a patching compound or filler to fill in any remaining gaps and imperfections. Here are the steps to smoothly patch the holes:
- Apply a thin layer of patching compound or filler over the sanded areas using a putty knife or scraper. Make sure to spread it evenly, covering the entire patched surface.
- Use the putty knife or scraper to smoothen the patching compound, removing any excess and ensuring that it is flush with the surrounding surface. This will help create a seamless blend between the patch and the rest of the wall or surface.
- Allow the patching compound to dry completely according to the manufacturer’s instructions. This drying process may take several hours or even overnight, so be patient and avoid touching or disturbing the patched areas.
- Once the patching compound is fully dry, use a fine-grit sandpaper to lightly sand the patched areas once again. This step will help to further smooth and refine the surface, ensuring a professional-looking finish.
- Wipe away any dust or debris from the sanding process using a clean cloth or vacuum cleaner. With a clean and smooth surface, you are now ready to paint, touch up, or finish the patched area as desired.
By following these steps to sand and smooth the patched holes, you can achieve outstanding results and make the patched areas virtually undetectable. Remember to take your time, work patiently, and pay attention to detail for a flawless finish.
Painting And Finishing
Painting and finishing is the final step in patching TV mount holes and restoring the wall’s appearance. By following these simple steps, you can ensure a seamless blend between the patched areas and the rest of the wall.
Prime The Patched Areas
Before painting, it’s essential to prime the patched areas. This step acts as a preparatory coat that helps the paint adhere to the wall more effectively. Here’s how you can prime the patched areas:
- Clean the patched areas using a damp cloth to remove any dust or debris.
- Apply a thin layer of primer to the patched areas using a small paintbrush or a roller. Make sure to cover the entire patch evenly.
- Allow the primer to dry completely, as per the manufacturer’s instructions. This usually takes around 2-4 hours.
Paint The Wall
Once the primer has dried, it’s time to paint the wall. Follow these steps to achieve a professional-looking finish:
- Choose a paint color that matches the rest of the wall. You can either use leftover paint from the original wall or get a color matched at your local paint store.
- Start by applying paint to the edges of the patched areas using a small paintbrush. This will help create a seamless transition between the patches and the rest of the wall.
- Next, use a roller to paint the larger sections of the wall. Apply the paint in even strokes, working from top to bottom.
- Allow the first coat of paint to dry completely. Depending on the type of paint you’re using, this may take a few hours.
- If necessary, apply a second coat of paint following the same technique as before. This will ensure an even and consistent finish.
By following these steps, you can successfully patch TV mount holes and achieve a flawless finish. Now your wall will look as good as new!

Credit: www.city-data.com
Frequently Asked Questions For How To Patch Tv Mount Holes
How Do You Repair Holes In Tv Mounts?
To repair holes in TV mounts, start by removing the TV from the mount. Fill the holes with wood putty or a similar filler, let it dry, then sand it smooth. Use touch-up paint to match the mount’s color and apply it to the repaired holes.
Finally, reinstall the TV on the mount.
How Do You Fill Holes In Stud Walls?
To fill holes in stud walls, follow these steps: 1. Clean the hole and ensure it is free of debris. 2. Use a putty knife to apply spackling compound, filling the hole. 3. Let the compound dry completely. 4. Sand the area until it is smooth.
5. Finally, paint over the repaired area to match the wall.
Do Tv Wall Mounts Leave Big Holes?
TV wall mounts do not leave big holes as they are designed to minimize damage. However, some mounts may require small holes for installation, but these can easily be patched up afterwards.
How Do You Fill A Hole In A Brick Tv Mount?
To fill a hole in a brick TV mount, start by cleaning the hole and removing any loose debris. Then, apply a brick patching compound or mortar mix to the hole, using a putty knife. Smooth the surface and let it dry completely before mounting your TV.
Conclusion
To wrap it up, patching TV mount holes can be a straightforward process if you follow the right steps. By assessing the hole size, preparing the surface, and using the appropriate patching materials, you can seamlessly repair any damages. Remember to sand, prime, and paint the area for a flawless finish.
With these tips in mind, you’ll be able to restore your wall and enjoy a professionally mounted TV in no time. So don’t fret over those unsightly holes, patch them up confidently and enjoy your entertainment setup to the fullest.
- Unleash the Potential: Exploring the World of Ceiling TV Mounts - February 15, 2024
- How to Mount a Tv on a Swivel Stand - February 15, 2024
- How to Hang Tv Outside - February 14, 2024