To remove a TV from a wall mount, first, unplug all cables, including power and HDMI. Then, unscrew the TV from the bracket, lifting it straight off the mount carefully.
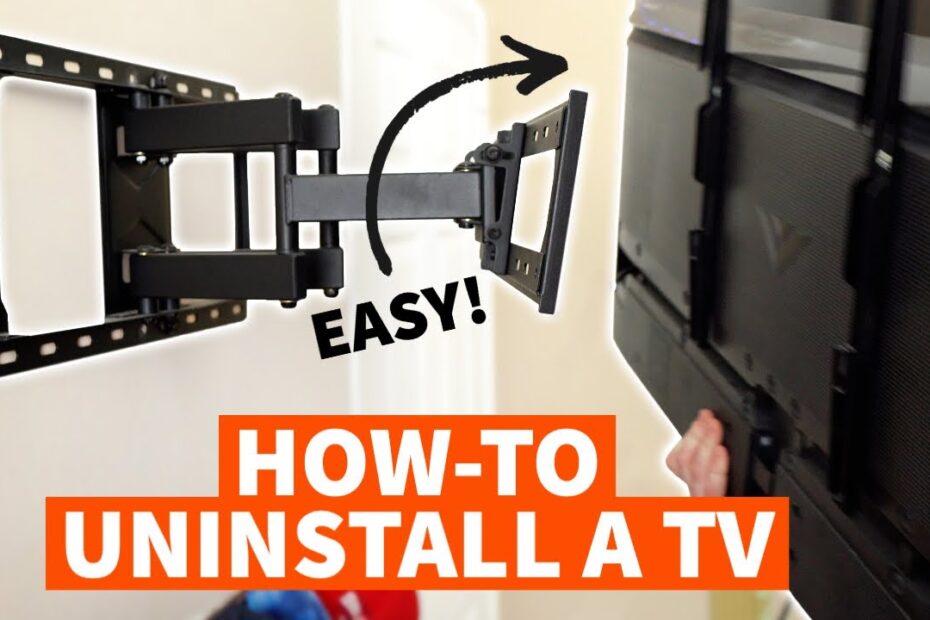
(124 words) Have you decided to take down your TV from the wall mount? Perhaps you are moving, rearranging your living room, or upgrading to a new TV. Whatever the reason may be, it’s important to know the proper steps to remove a TV from a wall mount.
This article will guide you through the process to ensure your TV is safely detached from the wall mount. By following these simple instructions, you can easily remove your TV without damaging it or the wall. So, let’s dive in and learn how to remove a TV from a wall mount!
Preparation
Before attempting to remove your TV from the wall mount, it’s essential to properly prepare. This will ensure a smooth and hassle-free process, while also minimizing the risk of damage to both your TV and the wall mount.
Check Equipment
Start by inspecting all the equipment involved in mounting your TV, including the wall mount itself, screws, brackets, and any additional accessories. Look for any signs of wear and tear or loose connections. Ensure that everything is in good working condition, as this will make the removal process safer and more efficient.
Gather Tools
Next, gather all the necessary tools to complete the task. Here’s a handy checklist to help you make sure you have everything you need:
| Tools | Quantity |
| Adjustable wrench | 1 |
| Phillips screwdriver | 1 |
| Flathead screwdriver | 1 |
| Socket wrench | 1 |
| Level | 1 |
Having these tools readily available will expedite the removal process and help ensure that it is done correctly.
By thoroughly checking your equipment and gathering the necessary tools, you’ll be well-prepared to remove your TV from the wall mount. The next step is to follow the proper instructions to safely and successfully complete the task.
Credit: www.youtube.com
Disconnect Cables
To remove your TV from a wall mount, start by disconnecting all cables, including the power cord, HDMI cables, and any AV cables. Be sure to carefully remove each cable without causing any damage.
Unplug Power Cable
To remove a TV from a wall mount, you first need to disconnect the cables. Start by unplugging the power cable from the TV. This cable is usually located at the back of the TV and connects it to a power outlet. It is essential to do this step carefully to avoid any damage to the cable or the TV itself.Remove Hdmi Cables
Next, you need to remove the HDMI cables. These cables carry both audio and video signals from your devices, such as a cable box or a gaming console, to your TV. Most modern TVs have multiple HDMI ports, so you might have more than one cable to remove. Carefully unplug each HDMI cable from the TV, making sure not to pull or twist them too hard to avoid any damage.Disconnect Any Other Cables
Apart from the power and HDMI cables, there might be other cables connected to your TV. These could include cables for audio input/output, USB ports, or even ethernet cables for internet connectivity. Before proceeding, take a moment to identify and detach any additional cables that are connected to your TV. Be gentle when removing them to avoid any accidental tugs or bends. Remember, when disconnecting cables, always be mindful of the fragile nature of the connectors and the ports on your TV. It’s essential to handle them with care to prevent any possible damage. Once you have successfully disconnected all the necessary cables, you are ready to proceed to the next steps in removing your TV from the wall mount.Remove Wall Mount Bracket
Removing a TV from a wall mount bracket may seem like a daunting task, but with a few simple steps, you can do it yourself. In this section, we will guide you through the process of removing the wall mount bracket to safely and easily take your TV off the wall. Let’s get started!
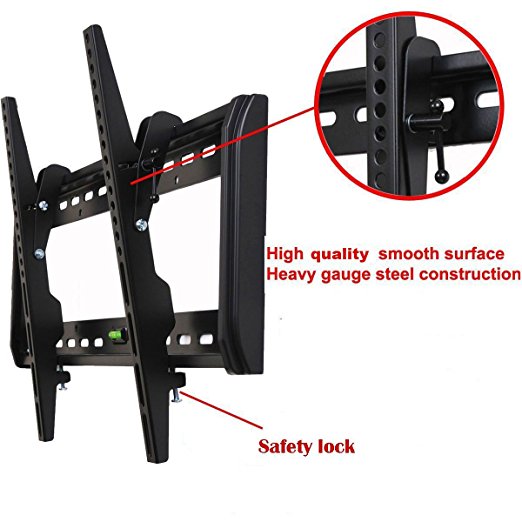
Locate Release Mechanism
The first step in removing the wall mount bracket is to locate the release mechanism. This is usually located near the bottom of the TV, on either side of the bracket. It may be in the form of a lever, button, or latch. Take a moment to familiarize yourself with the release mechanism before proceeding.
Release The Locking Mechanism
Once you have located the release mechanism, it’s time to release the locking mechanism. This can typically be done by pressing the lever, button, or releasing the latch. Apply firm but gentle pressure to unlock the mechanism, being careful not to apply too much force that could damage the TV or the bracket.
Lift The Tv Off The Wall Mount
With the locking mechanism released, it’s time to lift the TV off the wall mount. Place one hand on each side of the TV and gently lift it upwards, ensuring that you have a firm grip. Take your time to lift the TV straight up and away from the wall, keeping it level to avoid any tilting or damage.
Remember to maintain a steady pace and be cautious of any cables or connections that may still be attached to the TV. It is always a good idea to have a helper assist you during this process to ensure a smooth and safe removal.
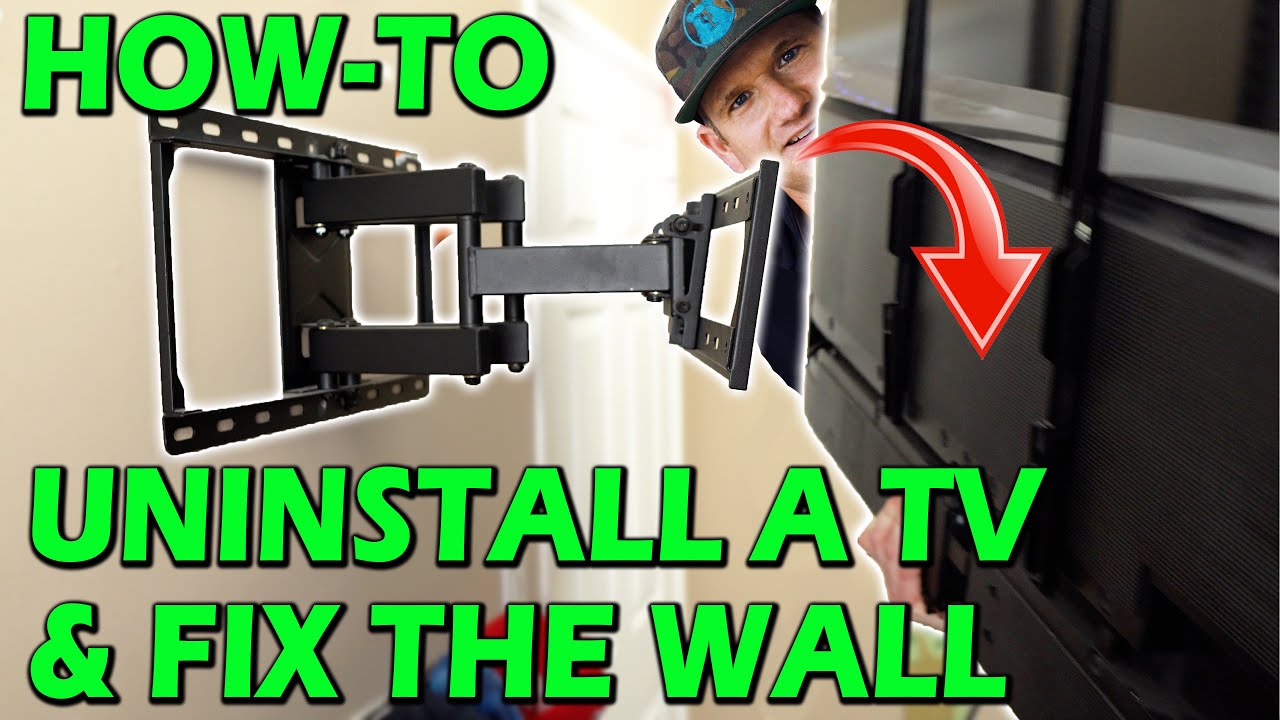
Patch Wall Holes
Patch wall holes with ease using these simple steps. First, remove your TV from its wall mount by following the instructions provided. Then, use spackling paste to fill the holes and sand them down for a smooth finish.
Cover Holes With Putty
When it comes to removing a TV from a wall mount, one of the tasks you will likely encounter is patching up the holes left behind. This step is essential to leave your wall looking neat and ready for any future changes or decorations. Once you have removed the TV and its mount, it’s time to cover those unsightly holes with putty. Using putty is a cost-effective and easy way to fill in the holes without leaving any trace. Here is a step-by-step guide to help you patch wall holes like a pro:- Start by cleaning the surrounding area of the holes using a damp cloth. This will remove any dust or debris that might interfere with the putty’s adhesion.
- Take a small amount of putty and knead it with your fingers until it becomes soft and pliable.
- Apply the putty over the holes, using a putty knife or your fingers to press it firmly into place.
- Make sure to apply enough putty to completely fill the hole, but avoid applying too much, as it will require more sanding later on.
- Smooth out the patched areas using a putty knife, ensuring that the surface is level with the surrounding wall. This will help create a seamless finish.
Smooth Out The Patched Areas
After covering the holes with putty, the next step is to ensure a smooth finish. This will make the patched areas blend in seamlessly with your wall, leaving no visible traces of the previous holes. Follow these steps to achieve a flawless surface:- Allow the putty to dry completely, as per the manufacturer’s instructions. This may typically take a few hours.
- Gently sand the patched areas using fine-grit sandpaper or a sanding block. This will help remove any excess putty and create a smooth surface.
- Wipe away any dust using a clean cloth, making sure the surface is clean and ready for further treatment if desired.
- Inspect the patched areas and repeat the sanding process if necessary. Aim for a surface that is as smooth as the surrounding wall.
Cleanup And Reinstallation
Looking for tips on how to remove a TV from a wall mount? We’ve got you covered. Follow our step-by-step guide for a hassle-free cleanup and reinstallation process.
After removing your TV from the wall mount, it’s important to properly clean both the TV and the wall mount to keep them in optimal condition. Cleaning will not only enhance the appearance of your assets but also help prevent any potential damage or deterioration. Remember, a clean TV and wall mount setup will guarantee you a better viewing experience in the long run.Clean The Tv And Wall Mount
Start by dusting off the TV screen gently using a microfiber cloth. Avoid using harsh chemicals or abrasive materials as they can damage the delicate screen surface. Instead, opt for a mild cleaning solution or concoct a DIY mix of equal parts water and vinegar. Dampen a clean cloth with the solution and gently wipe the screen in a circular motion, ensuring you don’t press too hard. Cleaning the wall mount is equally important. Begin by removing any dust or debris using a dry cloth or a soft brush. Pay close attention to the mounting brackets and joints, which tend to accumulate dirt over time. For a deeper clean, you can use a damp cloth with a mild soap solution. Again, be cautious not to use excessive moisture as this could damage the wall mount.Reinstall The Wall Mount
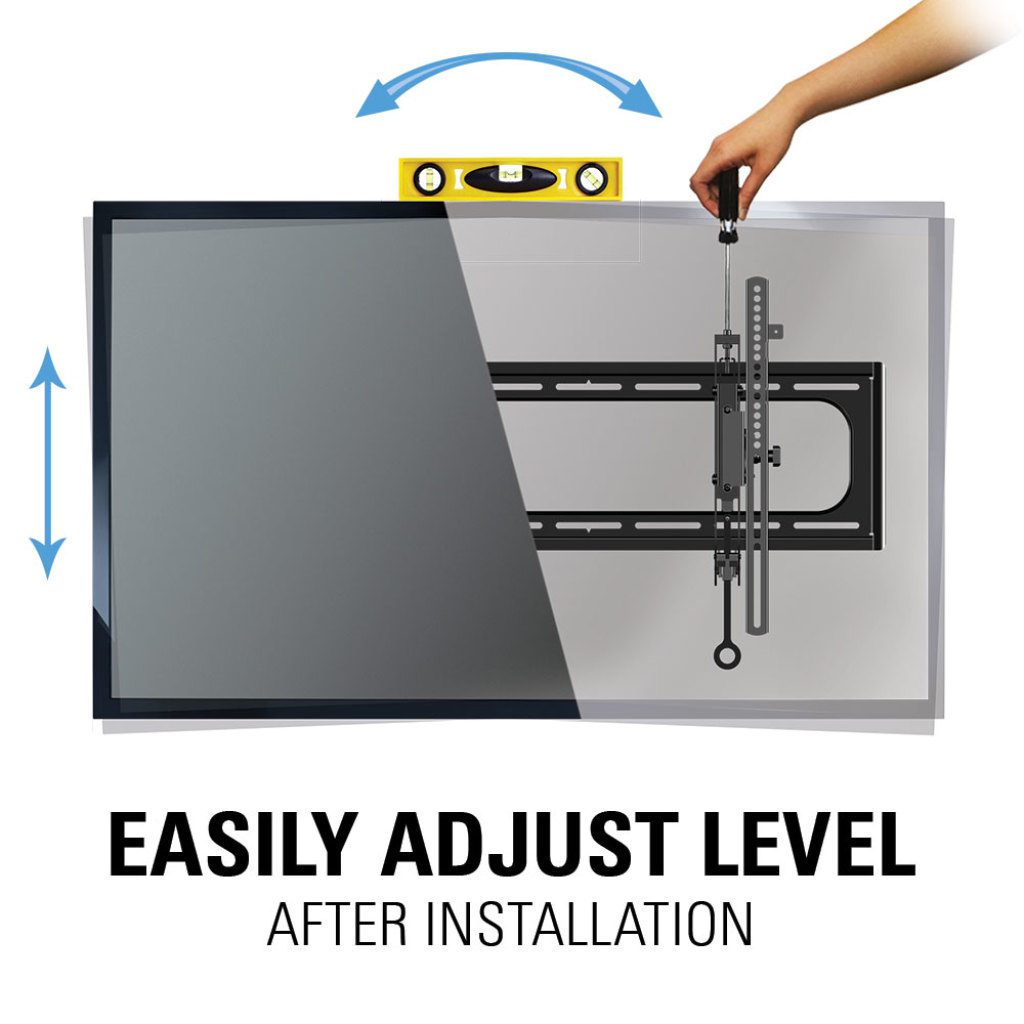
Now that your TV and wall mount are gleaming, it’s time to put everything back into its rightful place. Begin by locating the attachment points on the wall where the wall mount was previously installed. Check for any damage or loose screws before proceeding. Using a level, align the wall mount properly to ensure it’s straight and secure. You can involve a second person to assist you during this step to avoid any mishaps. Once you’ve achieved the desired position, mark the attachment points on the wall using a pencil. Now, drill pilot holes at the marked positions. Ensure the size of the pilot holes matches the screws that came with your wall mount. This step will prevent any unnecessary damage to your walls. After drilling, attach the wall mount to the wall using the provided screws, making sure they are tightened securely. Double-check the stability of the wall mount and give it a gentle shake to ensure it is firmly fixed in place. Once you’re confident in the stability, lift your TV and carefully hook it onto the wall mount brackets. Make sure it is properly secured and centered before stepping back to marvel at your successful reinstallation. Remember, if you encounter any difficulties during the cleanup or reinstallation process, it’s always wise to consult the manufacturer’s instructions or seek professional assistance. Taking the time to properly clean and reinstall your TV and wall mount will ensure many enjoyable viewing experiences in the future.Credit: www.quora.com
Credit: leslievillegeek.com
Frequently Asked Questions On How To Remove Tv From Wall Mount
How Do You Take A Tv Off The Wall Mount?
To take a TV off the wall mount, follow these steps: 1. Unplug all cables and accessories from the TV. 2. Locate and remove any screws or brackets attaching the TV to the wall mount. 3. Gently lift the TV upward, ensuring a secure grip.
4. Carefully detach the TV from the wall mount and lower it down.
How Do I Unmount My Samsung Tv From The Wall?
To unmount your Samsung TV from the wall, follow these steps: 1. Locate the screws securing the brackets to the back of the TV. 2. Use a screwdriver to loosen and remove the screws. 3. Carefully lift the TV off the wall brackets.
4. Ensure someone is available to help you safely remove the TV from the wall to prevent accidents. 5. Store the screws and brackets in a safe place for future use.
How Do You Remove A Tv From A Media Wall?
To remove a TV from a media wall, start by unplugging any cords connected to the TV. Then, locate and loosen the mounting brackets or screws holding the TV in place. Carefully lift the TV off the wall and set it down safely.
Make sure to handle the TV with care to avoid damage.
How Do You Repair A Wall After Removing A Tv Mount?
To repair a wall after removing a TV mount, start by assessing the damage. Fill any holes or cracks with spackling compound, then sand it smooth. Apply a primer to the repaired area, and paint the wall to match. Finish by reattaching any baseboards or trim that were removed.
Conclusion
Removing a TV from a wall mount may seem like a daunting task, but with the right approach, it can be done easily. By following the step-by-step guide provided in this blog post, you can ensure a safe and hassle-free removal process.
Remember to gather the necessary tools, disconnect all cables, and seek assistance if needed. With these tips in mind, you can confidently remove your TV from a wall mount without any difficulties. Happy removing!
- Unleash the Potential: Exploring the World of Ceiling TV Mounts - February 15, 2024
- How to Mount a Tv on a Swivel Stand - February 15, 2024
- How to Hang Tv Outside - February 14, 2024