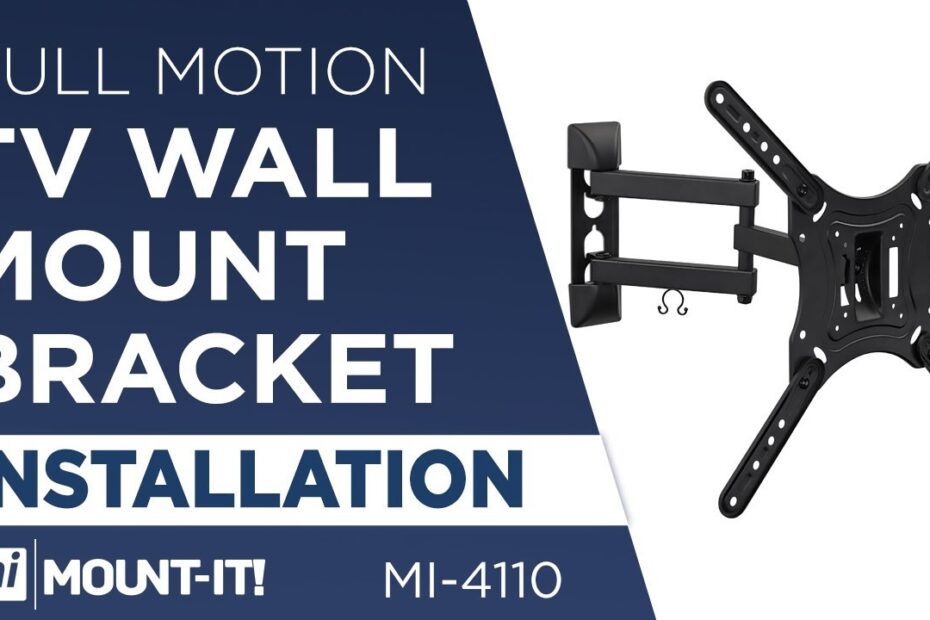
To install a full motion TV wall mount, attach the mount bracket to the wall securely and attach the TV bracket to the back of the television. TV wall mounts are a popular choice for those looking to save space and achieve the perfect viewing angle in their home or office.
By securely attaching the mount bracket to the wall and the TV bracket to the back of the television, you can ensure a full motion experience that allows you to swivel, tilt, and extend your TV for optimal viewing. We will guide you through the steps to install a full motion TV wall mount and enjoy a cinematic experience from the comfort of your own space.
So, let’s jump right in and get started with the installation process.

Credit: m.youtube.com
Choosing The Right Full Motion Tv Wall Mount
Installing a full motion TV wall mount can be a game-changer for your home entertainment setup. It not only saves space by getting your TV off the floor or the stand but also provides the flexibility to adjust the viewing angle according to your preferences. However, with so many options available in the market, choosing the right full motion TV wall mount can be a daunting task. In this section, we will discuss the key factors to consider when selecting a full motion TV wall mount.
Consider The Tv Size And Weight
One of the first things to consider when choosing a full motion TV wall mount is the size and weight of your TV. It is crucial to ensure that the wall mount can safely support the TV’s dimensions. To determine the appropriate mount, check the TV’s manual or manufacturer’s website for the weight and VESA mounting pattern. The VESA pattern is the standard spacing between the mounting holes on the back of the TV.
When selecting a TV wall mount, make sure it can support the weight of your TV. The weight capacity of the mount is usually specified on the product packaging or description. It’s better to choose a wall mount with a higher weight capacity than the weight of your TV to ensure stability and safety.
Analyze The Wall Space
Another important factor to consider when choosing a full motion TV wall mount is the available wall space. Measure the width and height of the wall area where you plan to mount your TV. This will help you determine the appropriate size of the wall mount that will fit your space perfectly.
It’s also essential to check the wall construction type. Different walls, such as drywall, wood studs, or concrete, may require specific mounting hardware. Consult an expert or refer to the wall mount’s installation guide for recommendations on the appropriate hardware for your wall type.
Keep in mind the viewing height and angle when analyzing your wall space. A full motion TV wall mount allows you to tilt, swivel, and extend your TV, ensuring optimal viewing from various seating positions. Take into account the seating arrangement and the desired viewing angle to select a wall mount that can meet your specific needs.
By considering the TV size and weight as well as analyzing the wall space, you can make an informed decision when choosing the right full motion TV wall mount for your home. Now that we have discussed these essential factors, let’s move on to the next step in the installation process – mounting the bracket on the wall.

Credit: www.amazon.com
Preparing For Installation
Before installing a full motion TV wall mount, it is important to properly prepare. This will ensure a safe and secure installation that will allow you to fully enjoy the benefits of your new TV mount. This step-by-step guide will walk you through the process, starting with gathering the necessary tools.
Gather Necessary Tools
To begin the installation process, you will need the following tools:
- Stud finder
- Tape measure
- Pencil or marker
- Power drill
- Screwdriver
- Level
- Masking tape
Locate Wall Studs
Before mounting your TV, it is essential to locate the wall studs. These studs provide the necessary support to hold the weight of your TV and ensure a secure installation. To find the studs, follow these steps:
- Use a stud finder to detect the location of the studs in your wall. Move the stud finder in a horizontal motion until it indicates the presence of a stud.
- Once you have located a stud, mark its edges with a pencil or marker. This will help you ensure accurate placement of the mounting holes.
- Repeat this process to find additional studs, depending on the size and weight of your TV.
Mark The Mounting Holes
After locating the studs, it’s time to mark the mounting holes on the wall. Follow these steps:
- Place the TV mount against the wall at the desired height and position. Use a level to ensure the mount is perfectly straight.
- With the mount in place, use a pencil or marker to mark the locations of the mounting holes on the wall. These will serve as your reference points when drilling.
- For added convenience and accuracy, you can place strips of masking tape over the marked holes. This will prevent any accidental smudging and also help guide the drill bit.
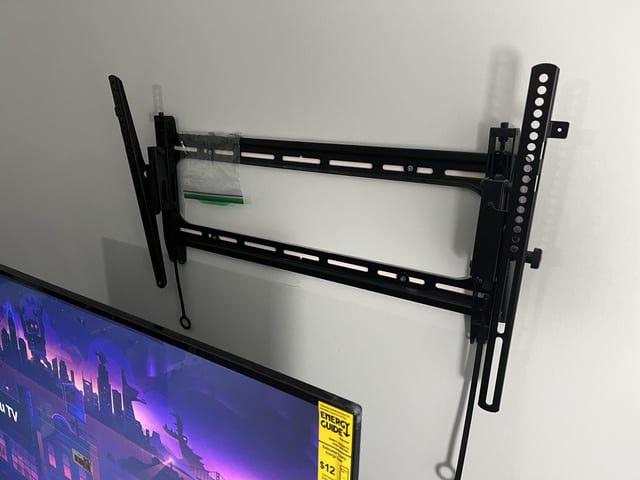
Mounting The Tv Wall Bracket
Mounting your TV on the wall with a full motion TV wall mount not only saves space but also provides you with the flexibility to adjust the viewing angle for optimal comfort. To ensure a secure and sturdy installation, follow these simple steps to attach the wall plate, secure the articulating arm, and connect the TV bracket. Let’s get started!
Attach The Wall Plate
The first step in mounting your TV wall bracket is to attach the wall plate securely to the wall. Here’s how to do it:
- Choose the ideal location on the wall where you want to mount your TV. Ensure that it is at a comfortable height and provides a clear view.
- Using a stud finder, locate the studs in the wall that will support the weight of your TV. Mark the center of each stud with a pencil.
- Align the wall plate with the marked stud locations and use a level to ensure it is straight.
- Using a power drill, screw the provided lag bolts into the stud locations through the holes in the wall plate. Make sure the wall plate is securely fastened to the wall.
Secure The Articulating Arm
Once the wall plate is securely attached, it’s time to secure the articulating arm. Follow these steps:
- Align the articulating arm with the wall plate and insert the provided bolts into the corresponding holes.
- Tighten the bolts with a wrench or screwdriver, ensuring that the arm is securely attached to the wall plate. Check for any wobbling or looseness.
- Ensure the arm is level by using a level tool.
Connect The Tv Bracket
Finally, it’s time to connect the TV bracket to the articulating arm. Here’s how:
- Depending on your specific TV model, locate the attachment points on the back of your TV.
- Align the TV bracket with the attachment points and insert the provided bolts or screws through the bracket holes into the TV attachment points.
- Tighten the bolts or screws with a screwdriver or wrench, ensuring a secure connection between the TV and the bracket.
- Double-check all connections and ensure the TV is securely attached to the bracket.
With the TV bracket securely mounted to your wall, you can now enjoy the flexibility and convenience of a full motion TV wall mount. Remember to follow the manufacturer’s instructions for your specific TV mount to ensure a safe and secure installation.
Credit: vimeo.com
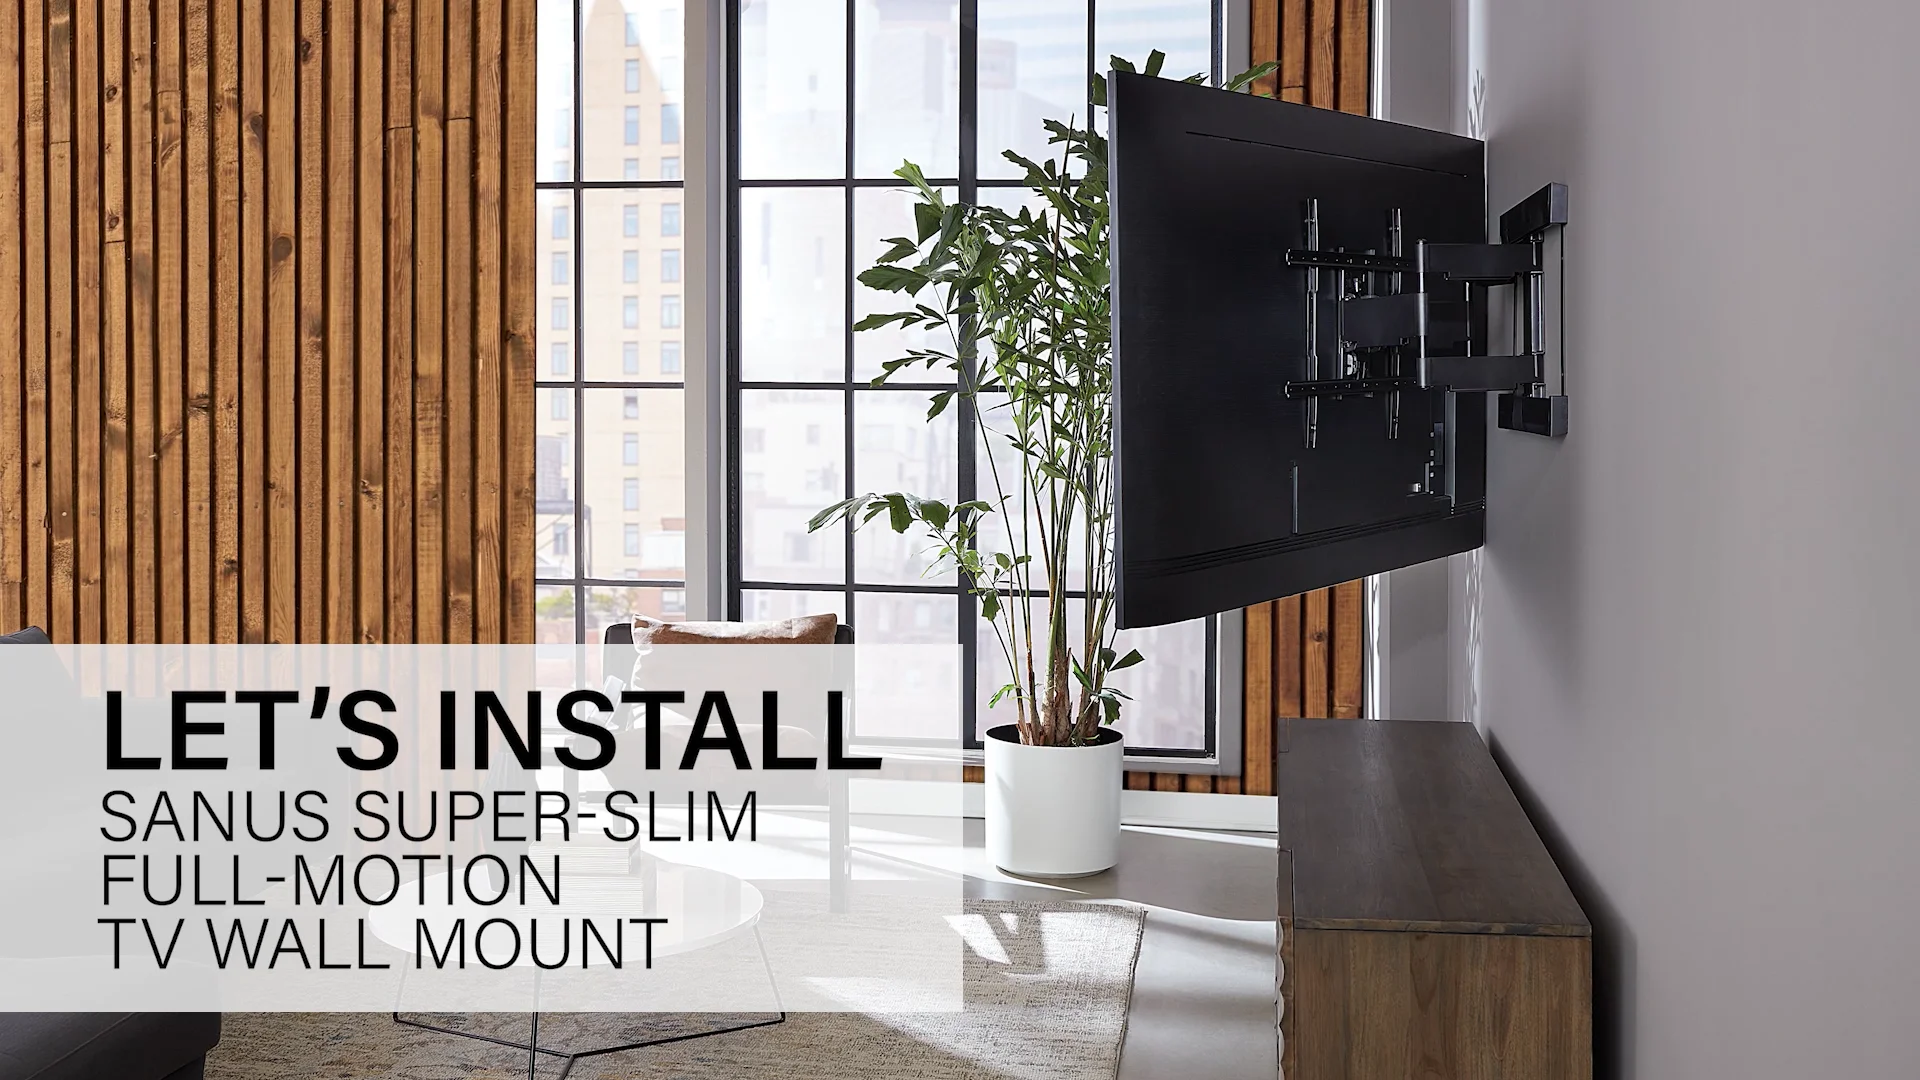
Attaching The Tv To The Wall Mount
Learn how to install a full motion TV wall mount and securely attach your TV to the wall. With step-by-step instructions, you can easily enhance your viewing experience and create a space-saving setup.
Now that you have successfully mounted the full motion TV wall mount on your wall, it’s time to attach your TV securely to the mount. This step is crucial to ensure proper stability and a great viewing experience. Follow these simple steps to attach your TV to the wall mount.Lift The Tv Onto The Wall Mount
To begin, carefully lift your TV and align the mounting holes on the back of the TV with the brackets on the wall mount. Make sure you have a friend or family member assisting you during this process, as TVs can be quite heavy. Slowly slide the TV onto the wall mount brackets until it clicks into place.Check For Stability
Once your TV is securely attached to the wall mount, it’s essential to check for stability. Gently give the TV a little shake to ensure it is firmly in place. If there is any wobbling or instability, double-check that the brackets are properly aligned and tightened. Adjust the placement if necessary and ensure the TV is securely attached.Adjust The Viewing Angle
Now that your TV is securely attached to the wall mount and stable, it’s time to adjust the viewing angle. This step allows you to position the TV in a way that provides optimal viewing for everyone in the room. Tilt the TV up or down, or adjust the side-to-side angle, to match your preferences. Remember, the viewing angle should be comfortable and without any glare. Take your time to find the perfect position that allows you to enjoy your favorite shows and movies without straining your neck or eyes. By following these simple steps, you can easily attach your TV to the wall mount and enjoy a fantastic viewing experience. Make sure the TV is securely positioned before you sit back, relax, and enjoy your favorite entertainment.Testing And Finalizing The Installation
To complete the installation of a full motion TV wall mount, thorough testing and finalization are crucial. Ensure the mount is securely attached, adjust the TV to the desired position, and make sure it moves smoothly and locks in place for optimal viewing experience.
Introduction: Congratulations, you’re almost there! After successfully mounting your TV using a full motion wall mount, it’s time to test and finalize the installation. This crucial step ensures your TV is secure and functional, providing you with an immersive viewing experience. In this section, we will cover how to test the full motion functionality, hide cables and wires, and ultimately sit back and enjoy your new TV setup.Test The Full Motion Functionality:
Now that your TV is securely attached to the wall, it’s important to ensure that the full motion functionality works as intended. Follow these steps to test the flexibility of your wall mount: 1. Swivel: Gently swivel the TV from left to right and vice versa to confirm that it rotates smoothly. Make sure it doesn’t feel tight or restricted. 2. Tilt: Adjust the tilt angle of the TV screen by pushing it up and down. This will help you find the most comfortable viewing position. Test the range of motion to ensure it’s not limited or stuck. 3. Extension and Retraction: Extend the TV away from the wall and then retract it back. This movement allows you to adjust the distance between the wall and the TV, providing flexibility in positioning. By performing these tests, you can be confident that your full motion wall mount is in good working condition and your TV is safe from any unexpected mishaps.Hide Cables And Wires:
Now that your TV is securely mounted and functioning optimally, it’s time to clean up the cables and wires for a neat and professional look. Here are some tips on how to hide them effectively: 1. Cable Management Solutions: Invest in cable management solutions such as cable raceways, adhesive clips, or zip ties. These will help you organize and conceal the cables behind the TV and along the walls. 2. Wall Concealment: Consider using a cable management kit that allows you to hide the cables within the walls. This option provides a clean and seamless appearance, with the cables out of sight. 3. Wireless Options: If available, utilize wireless technology for connecting your TV to other devices. This eliminates the need for cables altogether, giving your setup a sleek and clutter-free look. Remember, a well-organized setup not only improves aesthetics but also reduces the risk of tripping over loose cables. So take your time to properly conceal the wires and create a clutter-free viewing area.Enjoy The New Tv Viewing Experience:
With the full motion wall mount installed, tested, and cables hidden away, it’s time to sit back, relax, and enjoy your new TV viewing experience. Adjust your TV to the desired position, whether it’s angled towards your favorite couch or perfectly centered in the room. Revel in the freedom of being able to swivel, tilt, and extend your TV for the best viewing angle possible. With a clear and unobstructed view, every movie, show, or game will be enhanced. Make sure to clean the screen regularly and adjust the motion settings according to your preferences. And don’t forget to invite friends and family over to share in your newfound TV-watching pleasure. Your hard work in the installation process has paid off, and now it’s time to reap the rewards. Table: Benefits of Testing and Finalizing the Installation| Benefits | Reasons |
|---|---|
| Safe and Secure | Ensuring the full motion mount is free from defects and the TV won’t fall |
| Clean and Organized | Hiding cables and wires for an aesthetically pleasing setup |
| Optimal Viewing Experience | Adjusting TV position for the best angle and comfort |
| Enhanced Accessibility | Flexibility to adjust the TV based on varying situations and preferences |
Frequently Asked Questions For How To Install A Full Motion Tv Wall Mount
Can You Mount A Full Motion Tv On Drywall?
Yes, you can mount a full motion TV on drywall. However, it’s essential to ensure that the drywall can support the weight of the TV and the mount. Install a sturdy wall anchor and distribute the weight evenly to prevent any damage or accidents.
How Do You Mount A Full Motion Tv Bracket?
To mount a full motion TV bracket, follow these steps: 1. Choose a suitable location on the wall. 2. Attach the bracket securely to the wall using screws and a drill. 3. Locate the studs or use wall anchors for added stability.
4. Attach the TV to the bracket using the provided hardware. 5. Make sure the TV is level and secure before enjoying your newly mounted TV.
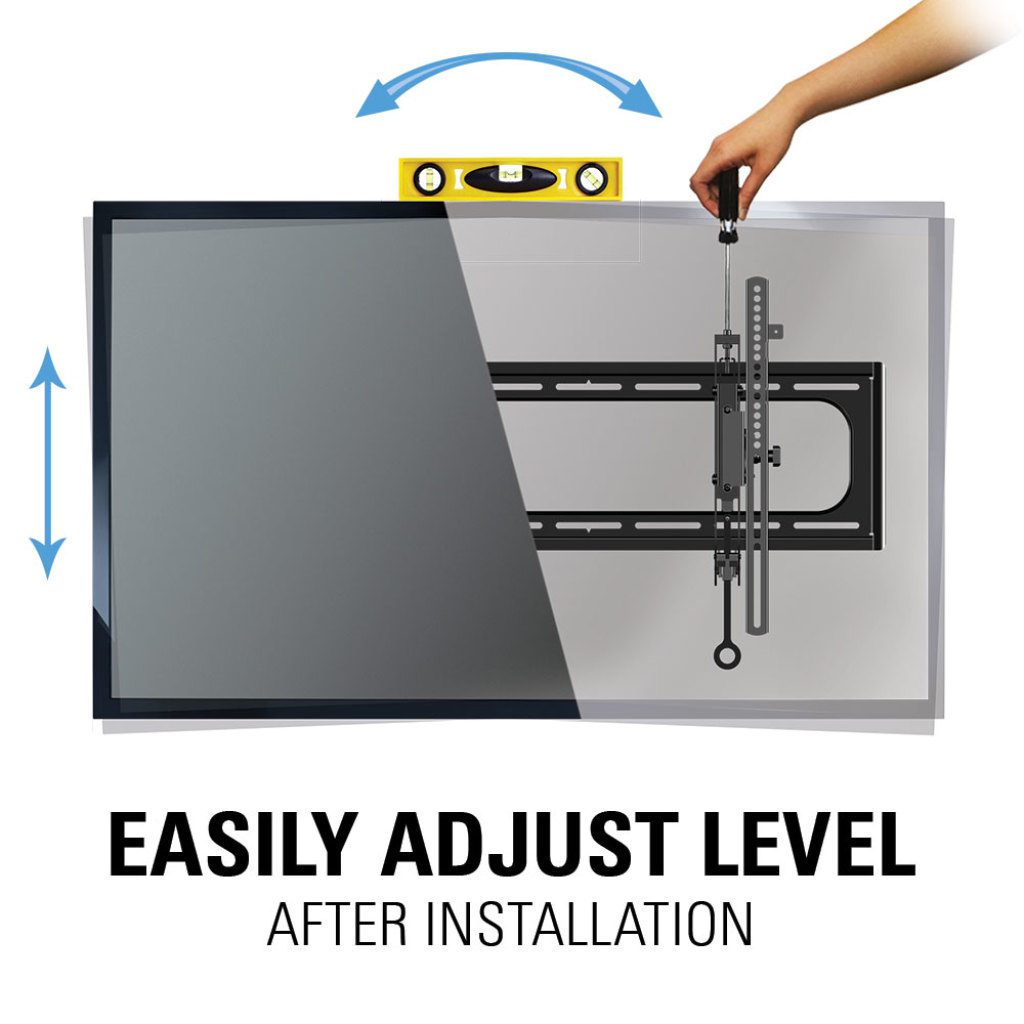
How Do You Level A Tv On A Full Motion Wall Mount?
To level a TV on a full motion wall mount, follow these steps: 1. Start by mounting the bracket securely on the wall. 2. Attach the TV to the bracket, ensuring it is secure. 3. Use a level tool to check if the TV is straight and adjust the bracket as needed.
4. Tighten all screws and bolts to prevent any movement. 5. Double-check the levelness and make any final adjustments if necessary.
Is A Full Motion Tv Mount Worth It?
A full motion TV mount is worth it for those who want maximum flexibility in viewing angles and positions. It allows you to tilt and swivel the TV, making it ideal for large rooms or multiple seating areas. With a sleek design and easy installation, it enhances your viewing experience.
Conclusion
Installing a full motion TV wall mount doesn’t have to be a daunting task. By following these step-by-step instructions, you can easily transform your space and enjoy an enhanced viewing experience. From selecting the right wall mount to ensuring it is securely installed, this guide has provided you with the knowledge you need to tackle this DIY project with confidence.
So go ahead, bring your entertainment to new heights and enjoy the benefits of a fully adjustable TV mount. Happy mounting!
- Unleash the Potential: Exploring the World of Ceiling TV Mounts - February 15, 2024
- How to Mount a Tv on a Swivel Stand - February 15, 2024
- How to Hang Tv Outside - February 14, 2024