To find studs in a wall, use a stud finder or tap lightly on the wall and listen for a solid sound. Do you need to hang something heavy on your wall and want to make sure it’s securely anchored?
Or maybe you’re planning to install shelves or a TV mount but aren’t sure where the studs are located. Whatever the reason, finding studs in a wall is a crucial step to ensure stability and avoid damaging your wall. Fortunately, there are simple methods to help you locate studs easily.
This article will guide you on how to find studs in a wall using a stud finder or tapping method, giving you the confidence to anchor items securely and make the most of your wall space.
Why Finding Studs In A Wall Is Important
Finding studs in a wall is a crucial step in any DIY project or home improvement task that involves hanging, mounting, or installing heavy objects. Locating studs ensures safe and secure installation, prevents damage to the wall, and enhances the overall aesthetics and practicality of the space. Here are the reasons why finding studs in a wall should be your top priority:
Ensuring Safe And Secure Installation
Finding and utilizing studs in a wall is vital for ensuring the safety and security of your installation. Studs are vertical framing members that provide structural support to the wall. They are typically made of wood or metal and are strong enough to support heavy items such as shelves, cabinets, TVs, mirrors, or artwork. By attaching your fixtures directly to studs, you can prevent them from falling or causing damage to the wall or the objects below.
Preventing Damage To The Wall
Mounting objects directly onto drywall without locating studs can lead to significant damage over time. Drywall alone is not designed to hold heavy weights, and using only drywall anchors or screws can cause them to gradually pull out, resulting in sagging, cracks, or even complete failure of the wall. By finding studs and securing your installation to them, you distribute the weight evenly across the wall, minimizing the risk of damage and ensuring the longevity of your installation.
Aesthetics And Practicality
Aside from the safety considerations, finding studs in a wall also plays a crucial role in improving the overall aesthetics and practicality of your space. When you mount objects securely to studs, they are less likely to become lopsided or tilted over time, giving your walls a neat and polished appearance. Additionally, by attaching items directly to studs, you can easily rearrange or replace them without leaving unsightly holes or patches on your wall, making it easier to maintain and update the decor of your space.
So, whether you’re hanging a heavy mirror, installing cabinets, or mounting a new TV, don’t overlook the importance of finding studs in a wall. It’s a small but crucial step that ensures the safety and stability of your installation, prevents damage to your walls, and enhances the aesthetics and practicality of your space.
Credit: www.audioholics.com
Common Methods To Find Studs In A Wall
When it comes to hanging heavy items or securing shelves on your walls, finding the studs is crucial. Knowing where the studs are located allows you to anchor items securely, preventing them from falling or damaging the wall. While it may seem like a daunting task, there are several common methods you can use to find studs in a wall. In this article, we will explore these methods in detail so that you can confidently locate studs in your walls.
Using A Stud Finder
One of the most effective ways to find studs in a wall is by using a stud finder. A stud finder is a handheld electronic device that uses electronic sensors to locate the presence of studs behind the wall. To use a stud finder, follow these simple steps:
- Ensure the stud finder is turned on and calibrated properly.
- Place the stud finder on the wall, starting from one side and moving horizontally.
- Slowly move the stud finder across the wall until it detects a stud.
- When the stud finder indicates a stud, mark the spot to remember its location.
- Continue scanning the wall to find additional studs, if needed.
A stud finder greatly simplifies the process of finding studs and is especially useful for those who are not experienced in wall construction. However, keep in mind that stud finders may require a certain level of skill and accuracy to operate correctly.
Utilizing Magnetic Tools
If you do not have a stud finder handy, you can also utilize magnetic tools to locate studs in a wall. Magnetic tools, such as a strong magnet or a magnetic stud finder, can detect the metal nails or screws used to attach the wall studs. To use magnetic tools, follow these steps:
- Take a strong magnet or a magnetic stud finder.
- Place the magnet against the wall and slowly slide it across the surface.
- If you feel the magnet being attracted to an area, it likely indicates the presence of a metal fastener, which is typically used to anchor studs.
- Mark the spot where the magnet is attracted for future reference.
- Repeat this process in different areas of the wall until you find multiple spots indicating the presence of studs.
| Pros | Cons |
|---|---|
| Magnetic tools are readily available and affordable. | Magnetic tools can only detect screws or nails, which may not be present in all areas of the wall. |
| Magnetic tools are easy to use. | Magnetic tools require a bit of trial and error to locate studs accurately. |
| Magnetic tools may not be as precise as electronic stud finders. |
Tapping Techniques
If you prefer a more traditional and low-tech approach, tapping on the wall is another method to find studs. By listening to the sound produced when tapping the wall, you can identify the denser area where studs are typically located. Follow these steps to use the tapping technique:
- Start tapping on the wall lightly, moving horizontally along the surface.
- Listen carefully to the sound produced while tapping.
- When you hear a solid, dull sound instead of a hollow sound, it likely indicates the presence of a stud.
- Note the location where you hear the solid sound and repeat the process to find other studs.
While the tapping technique is simple and doesn’t require any tools, it may take some practice to identify the subtle differences in sound and accurately locate the studs.
Visual Clues And Measurements
Lastly, you can also rely on visual clues and measurements to find studs in a wall. Studs are typically located 16 or 24 inches apart, so you can try measuring from a known reference point to estimate the location of other studs. Additionally, you may notice slight variations in the texture or paint of the wall, indicating the presence of studs. However, it is important to note that relying solely on visual clues and measurements may not always provide accurate results.
By using a stud finder, magnetic tools, tapping techniques, or visual clues and measurements, you can effectively locate studs in a wall. Each method has its own advantages and limitations, so it is recommended to use a combination of these methods to ensure accuracy. Once you have identified the studs, you can confidently anchor items to your walls, knowing they are securely supported.
Step-by-step Guide To Finding Studs In A Wall Using A Stud Finder
Finding studs in a wall is a crucial step when hanging heavy artwork, shelves, or mounting a TV. While some may rely on tapping the wall and listening for a hollow sound, using a stud finder offers a more accurate and efficient solution. In this step-by-step guide, we will walk you through the process of finding studs in a wall using a stud finder, ensuring your decorations are securely fastened and your wall remains intact.
Selecting And Preparing The Stud Finder
Before you start scanning for studs, it is important to select a reliable stud finder and prepare it for use. Follow these steps:
- Choose a stud finder model that best suits your needs. Some stud finders use magnetic or electronic sensors, while others utilize both.
- Read the manufacturer’s instructions carefully to understand how to operate the specific model you have chosen.
- Insert fresh batteries into the stud finder to ensure accurate readings.
Starting The Scanning Process
Once your stud finder is ready, you can begin scanning the wall for studs. Follow these simple steps:
- Hold the stud finder against the wall, making sure it is level and flush.
- Press and hold the power button to activate the stud finder.
- Slowly slide the stud finder along the wall, moving it horizontally or vertically depending on your preference.
Identifying Studs With Visual And Audio Signals
As you scan the wall, the stud finder will indicate the presence of studs using visual and audio signals. Pay attention to these signals to accurately locate the studs:
- Visual signals: The stud finder’s display screen will show an image or light up when it detects a stud.
- Audio signals: Some stud finders emit a beeping sound or a series of beeps when a stud is detected.
Confirming The Stud Location
Once the stud finder indicates the presence of a stud, it’s important to confirm its location to ensure accurate placement. Follow these steps:
- Move the stud finder back and forth over the detected stud to determine its edges.
- Mark the edges of the stud with a pencil or masking tape to create a clear visual reference.
Marking The Studs For Future Reference
To conveniently reference the location of the studs in the future, marking them is crucial. Here’s how you can mark the studs:
- Using a pencil or masking tape, mark the center of each stud along the top and bottom edge.
- Consider using a different color for each stud to distinguish between them easily.
By following this step-by-step guide, you can confidently find studs in a wall using a stud finder. Remember, accurate stud finding is essential for secure and stable installation of your belongings, protecting both your decorations and your walls.

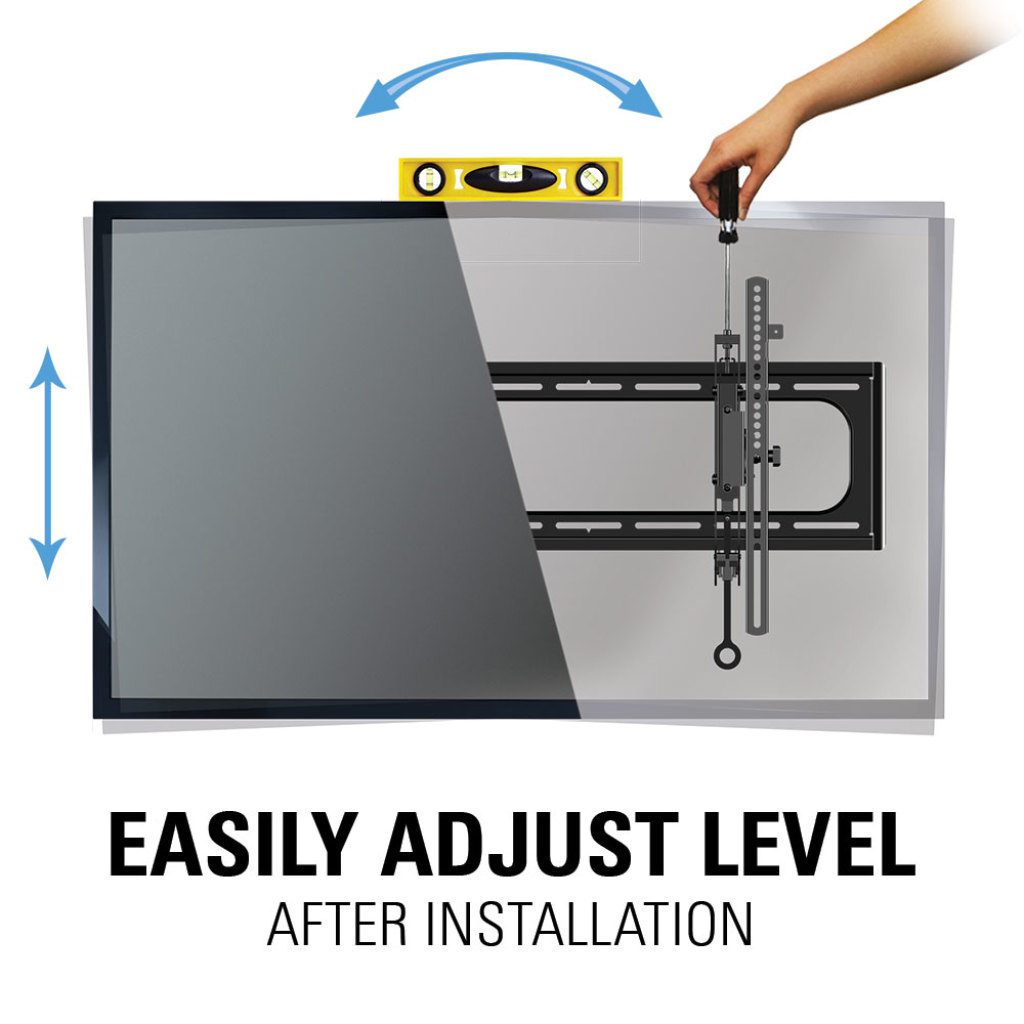
Credit: www.alatisinspectionservice.com
Alternative Methods To Find Studs In A Wall
When it comes to hanging heavy wall decor or installing shelves, finding studs is essential to ensure stability and prevent damage. While a traditional stud finder is the go-to tool for this task, there are alternative methods that can also help you locate studs with accuracy. In this article, we will explore different techniques that can assist you in finding studs in a wall without relying solely on a stud finder. These methods include using neodymium magnets, employing magnetic stud finders, tapping the wall for solid sounds, looking for outlets and switches, and measuring stud spacing.
Using Neodymium Magnets
Using neodymium magnets is a simple yet effective way to find studs in a wall. These rare-earth magnets are incredibly strong, making them ideal for this purpose. Follow these steps to locate studs using neodymium magnets:
- Place the magnet near the wall surface and move it horizontally.
- If the magnet is attracted to the wall, it indicates a metal fastener such as a nail or screw, likely indicating the presence of a stud.
- Mark the location and repeat the process in different areas to confirm the stud’s position.
Employing Magnetic Stud Finders
Magnetic stud finders work by detecting the metal fasteners that secure studs to the wall. Follow these simple steps to use a magnetic stud finder:
- Place the stud finder on the wall and slowly slide it horizontally.
- When the stud finder detects a metal fastener, it will alert you either by producing a sound or using an indicator.
- Mark the location indicated by the stud finder to pinpoint the stud’s position.
Tapping The Wall For Solid Sounds
Another method to find studs in a wall is by tapping the wall lightly and listening for solid sounds. Here’s how:
- Start tapping the wall with your knuckles or a small hammer.
- Listen for a solid, dull thud rather than a hollow sound.
- Once you detect a solid sound, it signifies that you have found a stud.
Looking For Outlets And Switches
Outlets and switches are typically mounted on studs. By locating these fixtures, you can deduce the position of studs nearby. Here’s how:
- Examine the wall for outlets and switches.
- Measure the distance between each outlet or switch. Studs are typically spaced 16 or 24 inches apart.
- Mark the middle point between adjacent fixtures to locate the studs.
Measuring Stud Spacing
An effective way to find studs is by measuring the spacing between them. Here’s what you can do:
- Use a tape measure to measure the distance from an existing stud to where the next one is likely to be.
- Typically, studs are placed 16 or 24 inches apart.
- Mark the measured distance to locate the studs along the wall.
Tips And Best Practices For Finding Studs In Different Wall Types
Finding studs in different wall types is an essential skill for any DIY enthusiast or homeowner. Whether you’re hanging heavy objects, installing shelves, or simply trying to avoid damaging your walls, locating studs is crucial. In this post, we will explore the best tips and practices for finding studs in various wall types, including drywall, plaster walls, tile walls, paneling or wainscoting, and brick or concrete walls.
Drywall
Finding studs in drywall is relatively straightforward, thanks to the hollow spaces between the studs. Here are some tips to help you locate studs in drywall:
- One common method is to use a stud finder, which uses electronic sensors to locate the studs.
- Another method involves tapping the wall lightly with your knuckles and listening for a solid thud, indicating the presence of a stud.
- Alternatively, you can use a strong magnet to detect the nails or screws that attach the drywall to the studs.
- Lastly, you can look for visible signs, such as electrical outlets or light switches, which are usually attached to studs.
Plaster Walls
Locating studs in plaster walls can be a bit more challenging due to the thickness and density of the material. However, the following methods can be effective:
- Similar to drywall, using a stud finder is one of the easiest ways to locate studs in plaster walls.
- An alternative method is to use a thin, sharp nail or awl to gently probe the wall. When you find resistance, it indicates the presence of a stud.
- Another approach is to look for imperfections, such as slightly raised areas or paint lines that might indicate the location of studs.
Tile Walls
When dealing with tile walls, extra caution is necessary to avoid damaging the tiles. Here are some tips for finding studs in tile walls:
- Using a stud finder specifically designed for tile walls can be the easiest and safest method.
- In the absence of a specialized stud finder, you can use the magnet method mentioned earlier, gliding a strong magnet along the surface to detect the nails or screws beneath the tiles.
- Another option is to drill small holes in the grout lines and use a thin wire or pin to probe for studs.
Paneling Or Wainscoting
Sometimes, walls may have paneling or wainscoting installed, which adds another layer of complexity. Here’s how you can locate studs in such walls:
- Using a stud finder is generally the easiest and quickest method for finding studs behind paneling or wainscoting.
- If needed, you can carefully remove a small section of the paneling to visually inspect for studs.
- Alternatively, look for any visible nail heads or seams in the paneling, as they often indicate the presence of studs.
Brick Or Concrete Walls
Locating studs in brick or concrete walls requires different techniques compared to other wall types. Here are some tips to help you find studs in these challenging surfaces:
- To find studs in a brick or concrete wall, you can use a stud finder with a deep-sensing feature, specifically designed for these materials.
- An alternative method is to look for visual clues, such as anchor bolts or patches, which often indicate the location of studs.
- If necessary, you can carefully drill small exploratory holes and use a thin wire or pin to feel for the presence of studs.
No matter what wall type you’re dealing with, it’s important to exercise caution and use appropriate tools to avoid causing any unnecessary damage. With the right approach and a bit of practice, finding studs in different wall types can become an easier task.
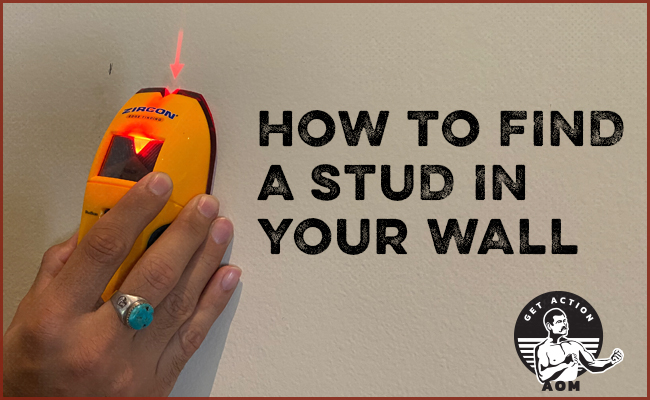
Credit: www.artofmanliness.com
Frequently Asked Questions For How To Find Studs In Wall
What Is The Easiest Way To Find Studs In A Wall?
The easiest way to find studs in a wall is by using a stud finder tool. These handheld devices can locate the dense wooden beams behind the drywall, helping you accurately hang shelves, mirrors, or other heavy objects. Simply move the stud finder along the wall until it beeps or lights up to indicate a stud’s location.
Can I Use My Phone As A Stud Finder?
No, you cannot use your phone as a stud finder. A stud finder is a specific tool used to locate studs in walls, while your phone does not have the necessary sensors or technology for this task.
Can You Find Wall Studs Without A Stud Finder?
Yes, you can find wall studs without a stud finder. One way is by tapping the wall with a hammer or your knuckle to listen for a solid and hollow sound. You can also use a flashlight to shine on the wall at an angle and look for slight dimples that indicate the presence of studs.
How Far Apart Are Studs In A Wall?
Studs in a wall are usually spaced 16 inches or 24 inches apart, measured from the center of one stud to the center of the next. This spacing provides stability and support for the wall, allowing for the attachment of drywall or other finishing materials.
Conclusion
Overall, finding studs in a wall can be a simple and efficient process with the right tools and techniques. By using a stud finder, measuring from known wall elements, or employing other methods like tapping and visual inspection, you can successfully locate studs with accuracy.
Remember, taking the time to find studs is crucial for ensuring the stability and durability of any installation or hanging on your walls. Happy stud hunting!
- Unleash the Potential: Exploring the World of Ceiling TV Mounts - February 15, 2024
- How to Mount a Tv on a Swivel Stand - February 15, 2024
- How to Hang Tv Outside - February 14, 2024